Final Product What You'll Be Creating
In today’s quick tip tutorial we will demonstrate how to create a sparkling text animation in Photoshop with just a few easy steps. Let’s get started!
Step 1
Open a new document. Select the Gradient Tool and fill the backgroundwith #911169 to #5b1569.

Step 2
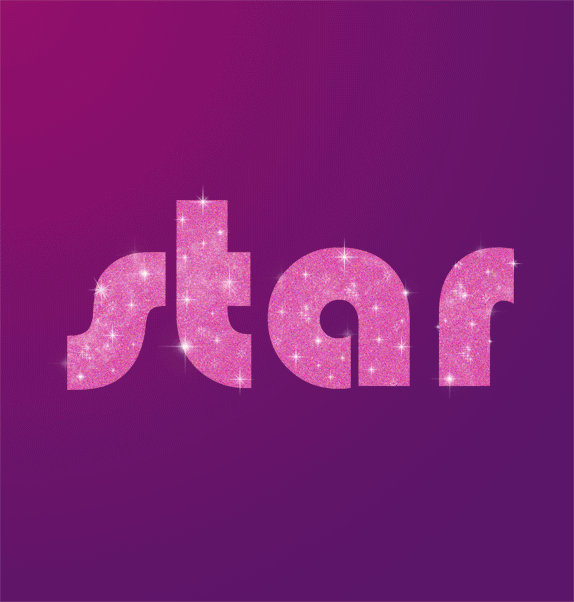
Choose a font and type out a word or a phrase. I chose the word star and used the Bauhaus 93 font. Fill it with #e76dbf.

Cmd + J the layer two times. You should now have three identical layers.

Next select the star’s layer and go to Filter > Noise > Add Noise and add a different amount of noise to each layer. I chose 20, 21, and 22.

Step 3
Download these star brushes. Create a new layer on top of each of the text layers. Select the brush tool and place some stars on top of your text. Be sure to create a different pattern for each text layer.


Step 4
Go to Window > Animation and create three frames.

The first word layer and the first sparkle layer should be active on the first frame. See the image below to see which layer should be selected on which frame. Frame delay time should be 0.2 sec. Now press play.

Step 5
The last step is to save our animation so go to File > Save for Web and Devices and save it as a gif file.

Final Image
That’s it! We’re finished! You can see some additional examples below.

No comments:
Post a Comment